How to Install Avid CRM
This guide will help you install Avid CRM! If you have questions or issues please email our team at [email protected] or [email protected].
Install Avid Client (Avidian Hosted Avid Users)
Pre-requisites:
- The user has a Avid login and password. If the user does not know their password it can be reset with the instructions here: Reset Password
- Outlook has already been set-up with an email account
- The user has admin rights to the computer How to Check
- The user’s machine meets our System Requirements
Before Installation:
Avid syncs a contact folder to the main contact database. Most users on work-related Outlooks sync their regular “Contacts” folder.
If you have personal contacts and want to create a separate folder for “Avid Contacts” follow the steps below.
- Open Outlook
- Open Contacts section in Outlook
- Right click on the Contacts folder and select New Folder
- In the new folder box, type in Avid CRM. This folder will be used later in the installation as the “Working Contacts Folder.”
Download the Avid CRM build:
Installation Instructions:
- Close Outlook
- Download and install the latest version of Avid
- Follow the prompts after running the downloaded file to install Avid
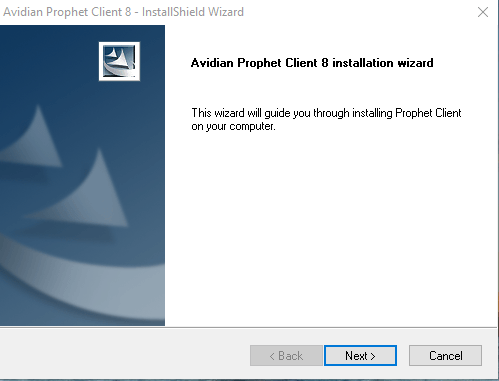
- Select “Next” on initial Installation Wizard Prompt
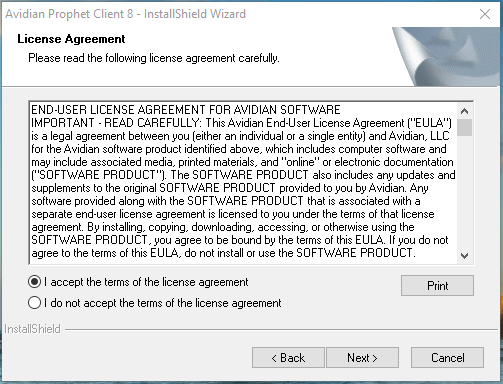
- Agree to the License Agreement and select “Next”
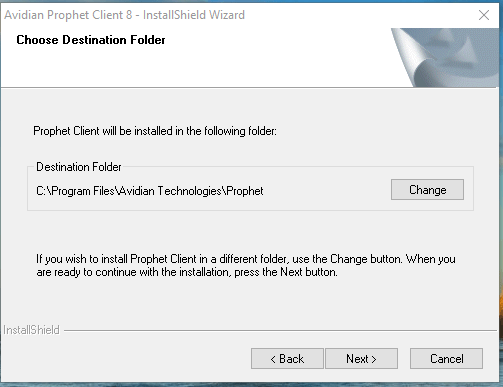
- Review the destination folder for Avid then select “Next”
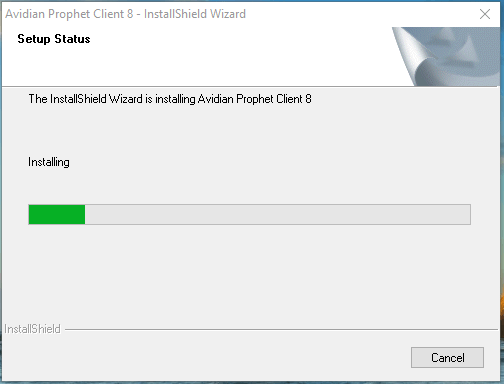
- Avid will now begin to install.
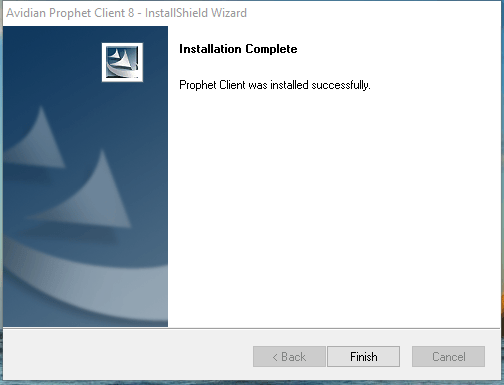
- After Installation has completed select “Finish”
- After Installation open Outlook and follow the steps to log into and configure Avid CRM.
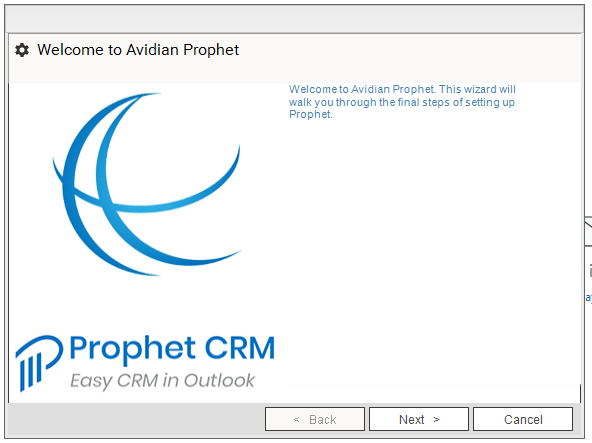
- Select “Next” on the ‘Welcome’ form. This should appear when re-opening Outlook.
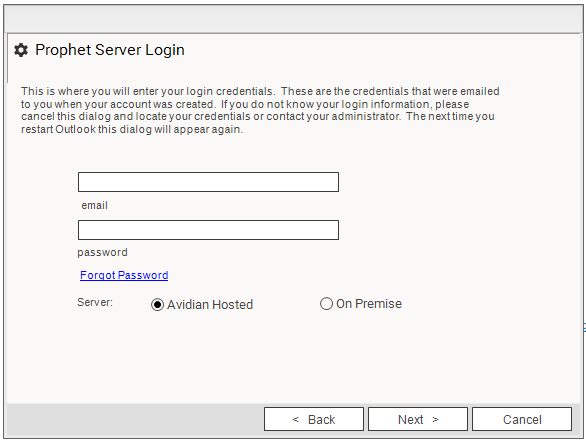
- Enter your Avid CRM login information into the next form. If you have forgotten your password it can be reset by following the instructions on this link: Reset Password
- Select your “Working Contact Folder” (Configured in the Pre-Installation steps). The default is the regular “Contacts” folder.
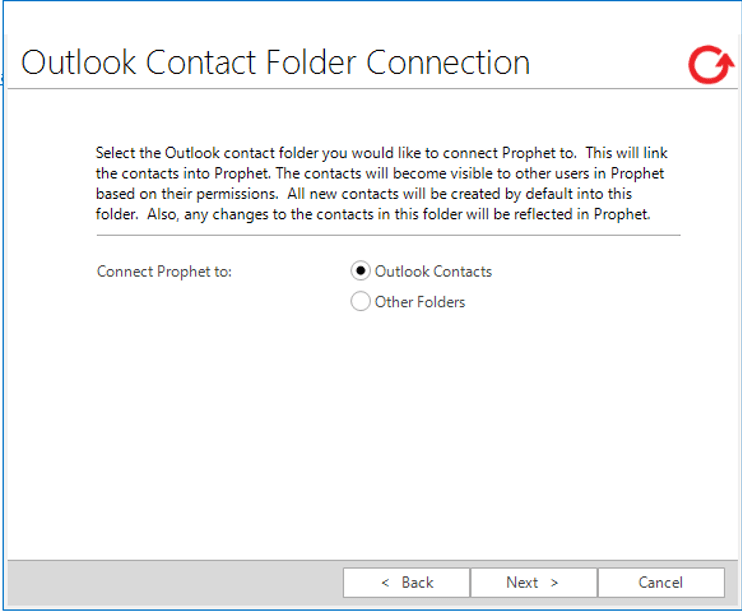
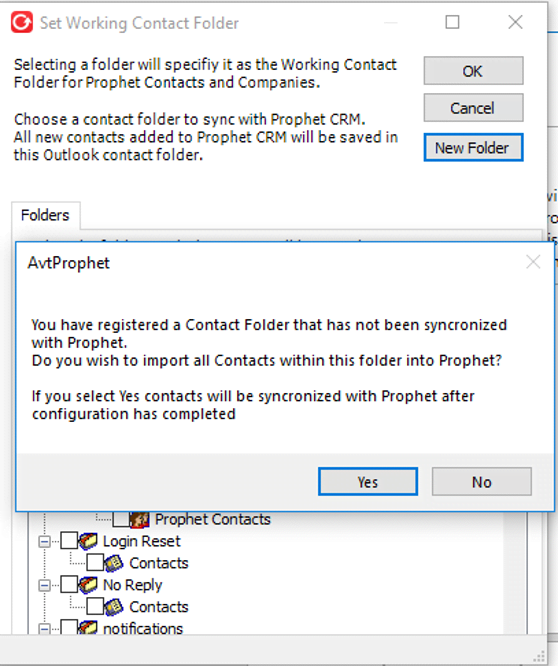
- If you are selecting a folder other than “Contacts” a list like this will appear. Choose the folder you want to sync with

- Once you have selected the desired folder Avid will prompt you to register and sync it with the database. Select “Yes.”
- Once contact synchronization has completed click the “Finish” button on the “All Set!” page.
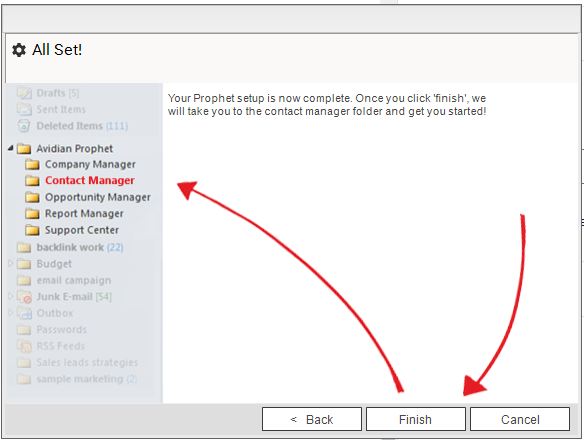
- Prophet CRM is now installed and configured!
If you have issues with the installation please email our Support Team at [email protected].
Resources for After Installation
Now that Avid has been installed here are a few links to help you get started!
Contact Info
Submit the form and our Team will get back to you within 24 hours
10800 NE 8th St, Suite 918 Bellevue WA 98004
1-855-284-3426